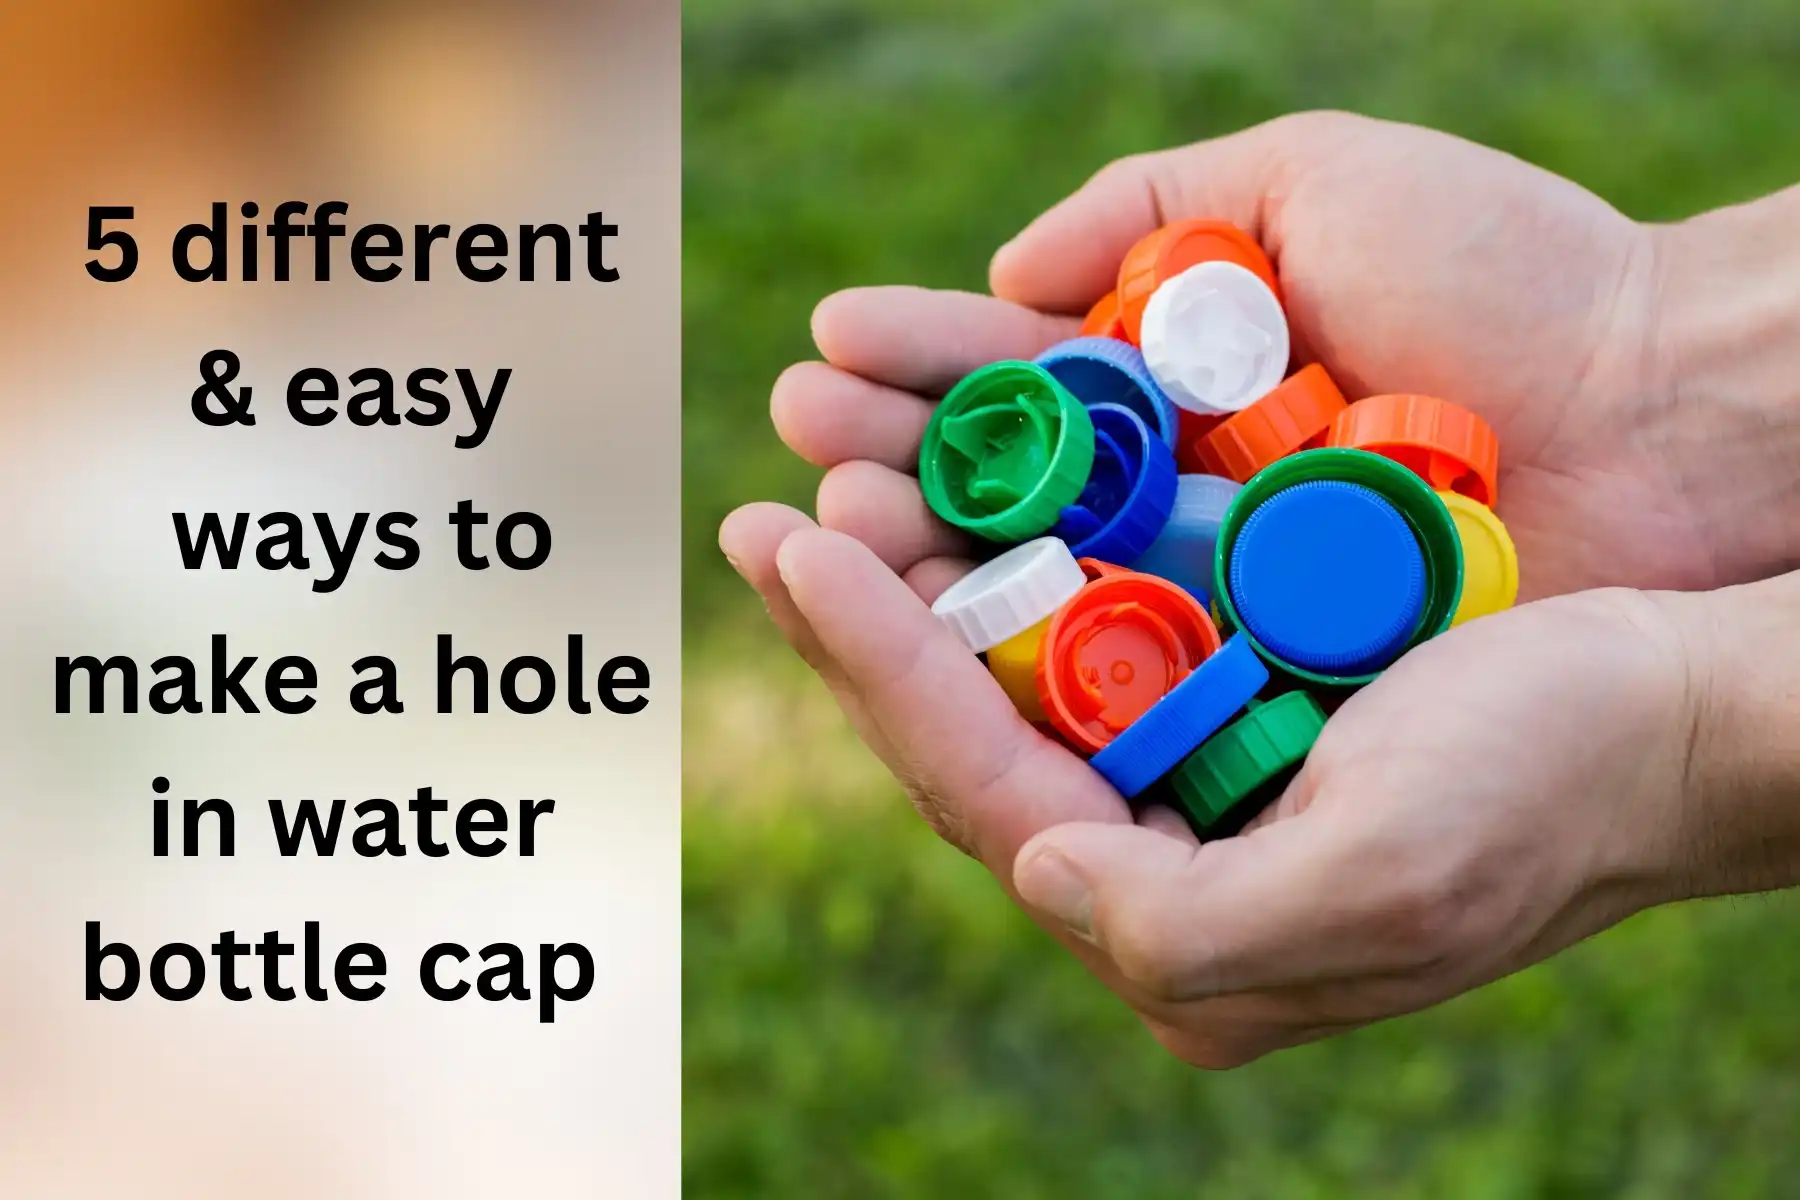
Table of Contents
ToggleHave you at any point contemplated whether your water bottle might be utilized for something other than sipping? Today we’re going to change that typical water bottle into a fabulous gadget! Be Prepare to figure out how to make a hole in a water bottle cap and open a universe of conceivable outcomes.
What You'll Need to Make a Hole in a Water Bottle Cap
Tools for Making a Hole In Water Bottle Cap
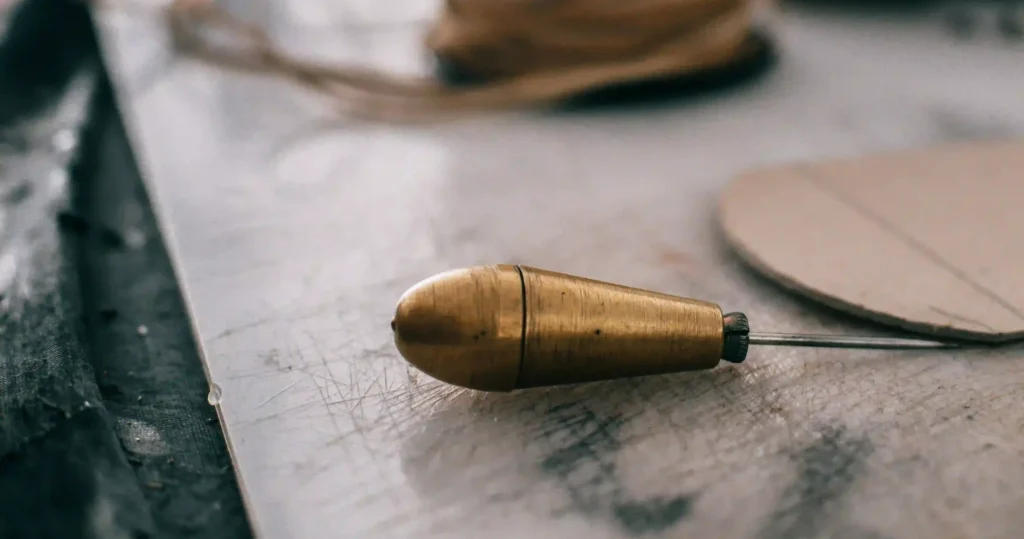
- Drill Machine: Consider it as your strong instrument. Ideal for completing the task precisely and on time.
- Hole Saw: Do you require a bigger hole? Your smartest choice for a smooth, clean hole is an hole saw.
- Awl: The awl is your crafting mate for better details and tiny holes.
- Utility Knife: Making holes is a fast and straightforward Do-It-Yourself activity.
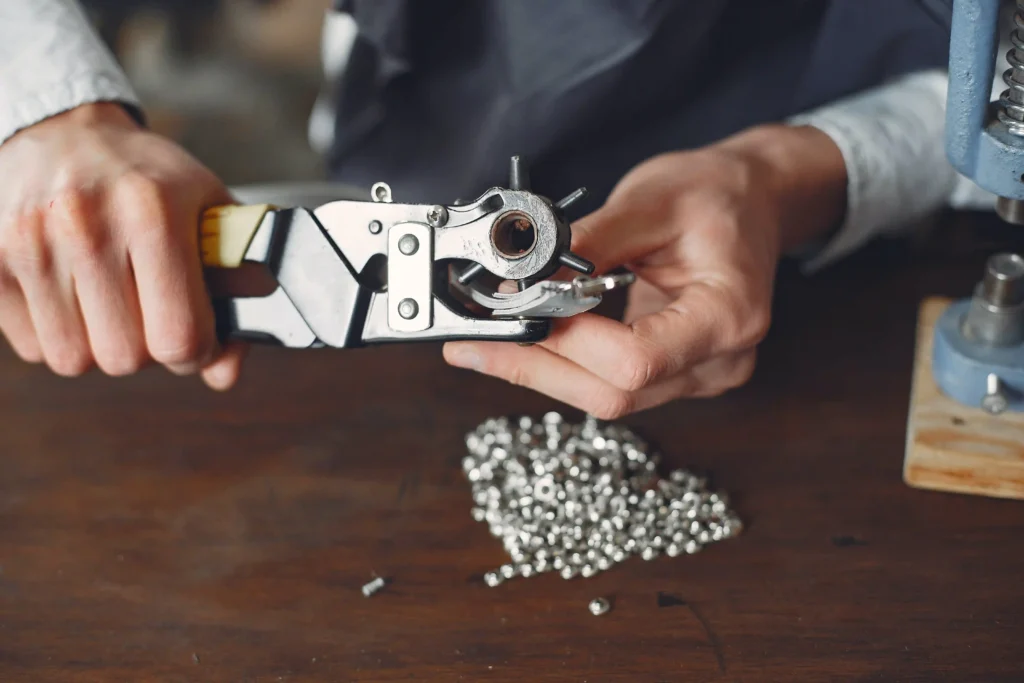
- High-Quality Hole Punch: A little, perfect hole can be made in a water bottle cap with a hole punch.
Materials You'll Need
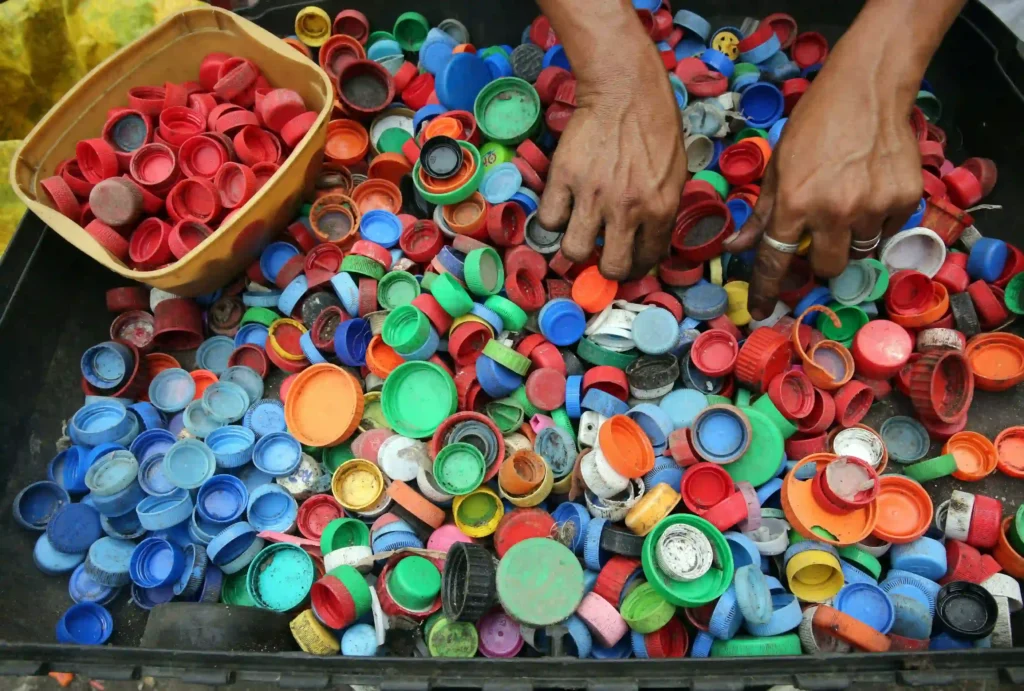
- Water Bottle: Select any bottle, but ensure that it is made out of a durable material. Thickness counts!
- Marking Tools: All you’ll require is a pencil or marker.
- Sandpaper: For a more polished appearance, adjust those edges. No one appreciates barbed edges!
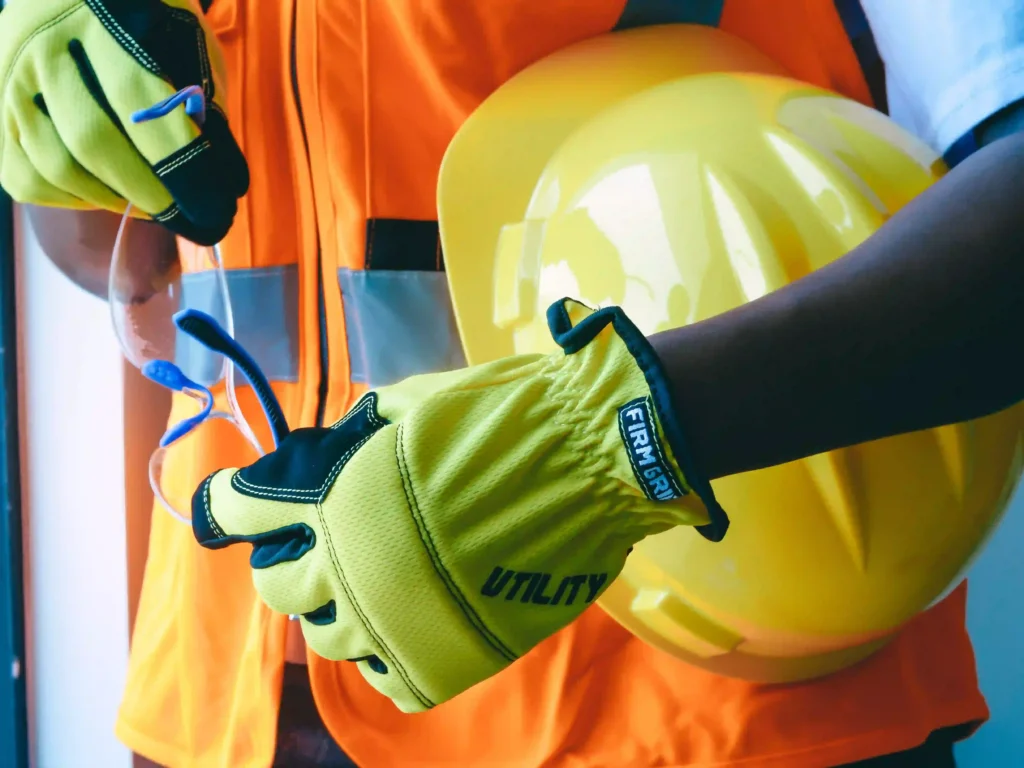
- Safety gloves and goggles: Gloves and goggles work together to frame an impervious boundary against possible dangers in the field of DIY security.
Steps To Take Before Making A Hole In A Bottle Cap
Before learning about how to make hole in bottle cap it is very important to know about the steps to take before making a hole in a water bottle cap:
Clean It Up
Give the cap of your bottle a spa day. Ensure everything is clean and liberated from any excess dirt or drink. A magnificent makeover starts with a blank canvas.
Choosing the Right Cap
Not every cap is equal. Before you start, consider the size and material. A different strategy might be required for a plastic cap than for a metal one.
Marking the Spot
If you are willing to know how to make a hole in a bottle cap accurately then you should mark the center of your cap with a marker. This stage serves as your guide for tracking down the best hole in the water bottle.
Setup Time
Sort out your tools. The method runs more easily and securely when everything is set up properly.
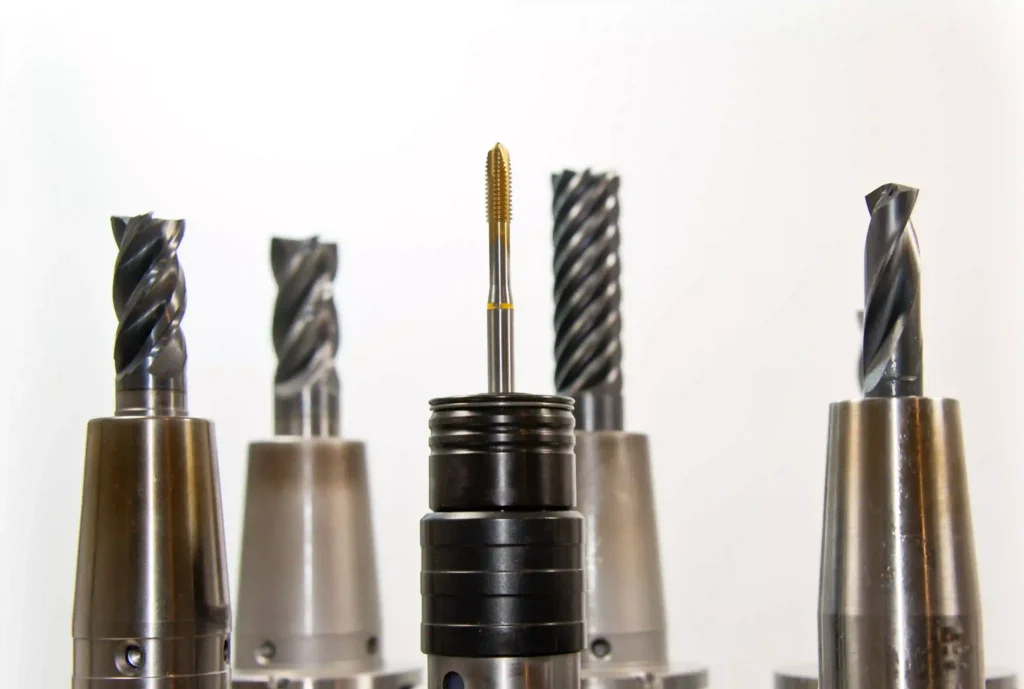
Pick Your Drill Bit Wisely
Choosing the suitable bottle cap drill bit is fundamental. If your cap is made of metal, ensure drill bit matches the material of the cap.
Oil it Up
Give your bottle cap drill bit some tender loving care before the big occasion. To guarantee a smooth drilling experience, grease up it.
Drilling the Hole
Now is the right time to begin drilling that hole! Proceed cautiously in how to make holes in bottle caps guide because hustling results in regrets
Choosing the Right Location
It is important where you perform this. If drilling, find a stable location. Think about the environmental factors also. Inside, ventilation is fundamental.
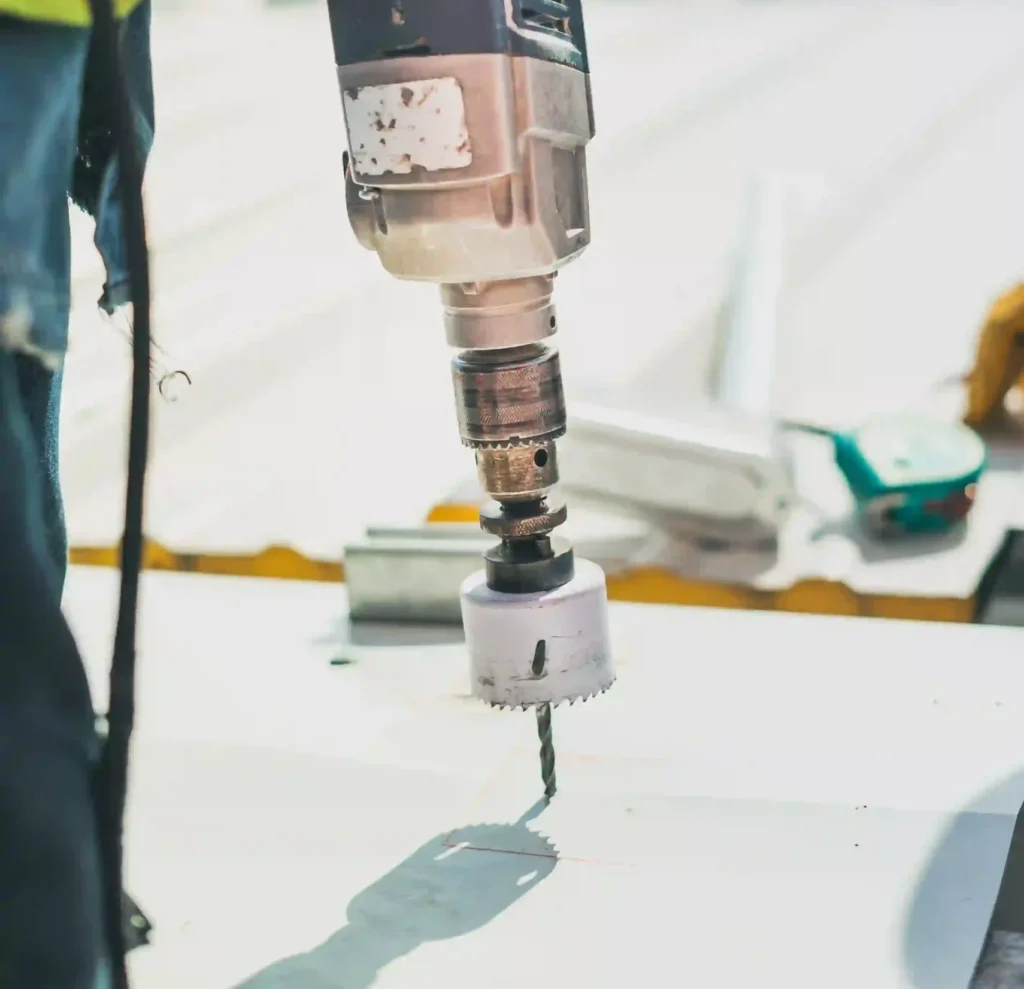
How to Make A Hole In A Water Bottle Cap Using A Drill Machine
Do you know how to make a hole in a water bottle cap using bottle cap drill machine? Don’t worry following are the simple steps to make a hole in water bottle using bottle cap drill machine
Materials You'll Need
Assemble the following before we start:
- Cap of a water bottle
- drill machine
- Safety glasses
- Sandpaper
- Marker
- A stable surface for working on
Choosing the Right Cap
Not every bottle cap fits into a drill. Pick a plastic cap if you’re beginning since they’re easier to utilize.
Picking the Right Drill Machine
Type of Drill Machine
While there are different sorts of bottle cap drills, pick a handheld one for our bottle cap experience. Specifically for more smaller projects, it is simpler to manage.
Adjustable Speed Settings
Look for a drill with variable speeds. We might want to have some control over its speed. More slow speed is ideal for plastic caps to forestall heat-related melting.
Power and Torque
Analyze the bottle cap drill’s power. A mid-power drill will enough for our bottle cap mission; more power is better for bigger tasks.
Chuck Size
Think about the size of the chuck. That is where the drill bit is kept. We don’t need a really large chuck size for our little bottle cap. For accuracy, smaller is best.
Safety First
While knowing about how to make a hole in a water bottle cap it it is very important to know that safety should always come first. To keep the dust at bay, wear your safety glasses, work in a area with great ventilation, and consider wearing a mask.
Marking Your Spot
Accuracy is fundamental. Make a clear mark with a marker where you want that the hole should be. Drill once, measure two times.
Securing the Cap
Secure the cap to forestall any slippage all through the drilling process. Utilizing a clamp or simply grasping it firmly with one hand both work.
Setting Up the Drill
Change the drill settings before to the excitement of drilling. For plastic caps, a more slow speed is preferable to avoid from cracking. Confirm that the drill bit you are utilizing fits the ideal hole size.
Time to Drill
Start drilling by delicately pressing the drill bit onto the assigned spot. Basic is ideal; don’t apply a lot of pressure; allow the drill to finish its task.
Checking Your Work
Look at the hole once it’s there. Confirm that the dimensions and structure are right. If not, that can be fixed with sandpaper.
Clean Up and Finish
After completing the process of how to make hole in bottle cap eliminate any extra drilling debris. Assuming you’re involving your cap for food or beverages, a spotless completion ensures that it’s prepared for use.
How to Make A Hole In A Water Bottle Cap Using A Hole Saw
Did you ever realize how to make a hole in a bottle cap using hole saw. Following are some simple steps to do this.
What You Need
To start, collect the following things:
- The cap of a water bottle
- An hole saw
- A drill with power.
- Sandpaper
Fear not because a full workshop won’t be needed for this.
Choosing the Right Cap
Before knowing about how to make holes in bottle caps using a hole saw it is vital to notice that not every cap is made equal. Select a cap that accommodates your visual perception while considering the size and material. This ensures an effective and successful hole making procedure.
Safety First
While innovation is valued highly, security can’t be compromised. Before you start any DIY project, ensure you have proper glasses and gloves.
Marking Your Spot
Mark the location of the hole on the cap before you start drilling. Here, accuracy is vital, so take as much time as necessary. This stage is basic to the success of your project.
Steady Surface
While drilling, ensure your water bottle is steady to prevent any hiccups. A firm surface guarantees an exact and controlled drilling experience by reducing slips and incidents.
Using the Hole Saw
The interesting part which is utilizing the hole saw is going to start. It’s not scary as it sounds, so don’t worry. Press the button, adjust the hole saw with the power drill, and place it over the assigned area.
Smooth Edges, Smooth Finish
When your hole is made, clean up those edges. To smooth things, use deburring tools or sandpaper. Our goals are to appear well-groomed and, most importantly, safe.
How To Make A Hole In A Water Bottle Cap Using Awl
Now by following the given steps lets talk about how to make a hole in a water bottle cap using awl.
Materials You'll Need
How about we start by gathering the things you’ll require:
- A water bottle with a cap
- A awl
- A pen or marker
- gloves for protection
- a Sturdy surface
Choosing the Right Awl
Now how about we discuss about choosing the best awl for your job to make holes in water bottle cap. Despite the fact that it sounds somewhat technical, it’s really more easier than picking the right screwdriver.
Getting to Know Awls
Awls are shaped and sized differently. While some are narrow, others are more broad. The secret is to match the awl to the material of the bottle cap and the ideal hole size.
Sharp Awls: Ideal for plastic caps. They leave the cap in one piece while making a perfect hole.
Broader Awls: Ideal for metal caps. The broader tip maintains cap in place and supports process control.
Consider Your Bottle Cap's Material
Another thing to recognize before knowing about how to make hole in bottle cap using awl is to look at the substance of your bottle cap briefly. Choosing the proper awl could assist with staying away from accidents since plastic and metal act behave differently.
Plastic Caps: Pick a sharp awl for your plastic caps. It penetrates plastic easily, leaving you with a neat hole.
Metal Caps: Select an awl with a more wider tip for metal caps. It protects the cap from damage and offers you more prominent control.
Size Is Important
Indeed, size matters! Consider how big you want that the hole should be. For small, accurate holes, you should utilize a thin awl; for bigger holes, you should utilize a more broader one.
Small Hole: For accuracy, utilize a small, sharp awl.
Large Hole: Select a awl with a more broader tip to get extra coverage.
A Comfortable Grip
Ensure the awl is comfortable in your hand because you will utilize it for some time. An ergonomic grip facilitates the task and reduces fatigue.
Handle Design: Pick a handle that is comfortable for you to hold.
Grip Material: Rubber or another non-slip material gives you more control.
Safety First
The most important step in how to make a hole in a bottle cap using awl is safety and It is critical to use caution while utilizing equipment, even something as relatively direct as an awl, to ensure your DIY project goes without a hitch. For what reason do we focus on safety?
Guarding Your Hands
Nobody wants unintentional cuts, and the awl can be little sharp. That is where the gloves come in; they act as an individual protector for your hands, preventing injuries and keeping up comfort.
Avoiding Slips and Mishaps
Indeed, even the most skilled among us occasionally make errors. Wearing gloves improves your grip, which diminishes the possibility that the awl will perform any unforeseen deceives and cause accident.
Eye Protection
Despite the fact that they might appear to be extreme, safety glasses are the superheroes of your eyes. They are there to guarantee that nothing unanticipated happens that could endanger your precious vision.
Marking Your Target
Let’s now indicate the location on your bottle cap. To get the hole precisely where you need it, this step is fundamental. Take out a pen or marker, and let’s make mark.
Stabilizing the Cap
Secure your bottle cap to forestall wobbles and abnormal holes. To keep everything steady as you perform your wizardry, find a stable surface.
Awl-Action Time
Now for the huge reveal: how to make holes in bottle caps with the awl. Here is a detailed manual which assist you in making a hole in water bottle cap using awl
Hold the Awl Right: Hold the awl easily, without making it excessively tight or excessively loose. You need command without utilizing a lot of power.
Get the Point in Place: Place the sharp end of the awl exactly where you marked the cap of the bottle. Confirm that it aligns up with the center point that you recently marked.
Easy Does It – Apply Pressure: This is the point at which it gets truly critical. Start applying pressure to the awl gradually however consistently. It’s ideal to take things nice as opposed to going all in at once.
Give it a Twist: You might find it useful to give the awl a slight twist as you apply pressure. This contributes to a more accurate and clean hole.
Keep at It: When the awl has penetrated the opposite side of the bottle cap, continue twisting and applying pressure. Allow as much time as necessary.
Check Your Work: After you’ve located the hole, analyze it closely. Verify that there are no sharp edges and that the size is what you require. Right now is an ideal opportunity to execute any significant changes.
Polish and Finish: For both safety and an professional appearance, adjust the edges of your hole. Think of it as the final detail on your magnificent bottle cap hole creation.
Review that maintaining control and moving gradually are crucial. You decrease the chance of slipping or having a warped opening by hole this. Pause for a minute to look once more and take a break if something appears to be strange.
How To Make A Hole In A Water Bottle Cap Using Utility Knife
Now its time to understand how to make a hole in a water bottle cap using utility knife.
Materials Needed
Let’s assemble our supplies before we move forward towards how to make hole in bottle cap. You’ll require
- A water bottle with a cap
- A reliable utility blade
- A marker
- A level surface to work on
- Safety gloves
- Sandpaper
Step-by-Step Guide
Mark Your Spot
The first step in how to make a hole in a bottle cap is to mark the location of the magic hole on your cap utilizing your marker. Consider it the start.
Hold it Tight
On the cutting mat, keep that bottle firmly in place.
First Cut
Using the utility knife, make a small incision where you made your markings.
Gradual Growth
Turn that knife gradually in a circle to expand the hole slowly.
Smooth Operator
Using sandpaper, smooth away any uneven surfaces encompassing your recently made hole.
How To Make A Hole In A Water Bottle Cap Using Hole Punch
Lets understand how to make holes in bottle caps using hole punch. You must have to folllow the following steps.
What You Need
Before we start, kindly accumulate the following things:
- Water bottle with a cap
- A punch hole
- A marker
Step-by-Step Process
Now it is the ideal time to know about how to make a hole in a water bottle cap! To make a hole in a water bottle with a hole punch, simply follow these simple steps.
Choose suitable Hole Punch
Select an hole punch that fits both the desired hole size and your style. Choose a hole punch that meets your requirements as they differ in purpose. Before knowing about how to make hole in bottle cap you must consider the material of your bottle cap; various materials work better with specific hole punches.
Mark the Spot
Take out your marker and mark the ideal hole in the cap with a tiny dot. This tiny mark serves as your direction to ensure the hole is set unequivocally where you want that it should be.
Position and Punch
Select a hole punch and place it straight over the area you highlighted. Verify that it is aligned and centered. When everything is prepared, firmly push the hole punch. At the point when you apply steady , consistent pressure, the punch will do something amazing and make a flawless hole in your bottle cap.
Check
After you’ve made the hole, analyze it closely. Analyze the region surrounding the hole for any lopsided or rough edges. Utilizing your finger, smooth them out. The aim is a clean, perfect hole.
Cap Cleanup
Now is the ideal time to cleanup. Clear the cap of any particles or marker residue.As well as causing your recently formed hole to seem more appealing, a clean cap ensures that it will work.
Advantages And Disadvantages of Using Different Tools For Making A Hole In Water Bottle Cap
After knowing all about how to make a hole in a bottle cap it is also very important to have knowledge about the advantages and disadvantages of using bottle cap drill machine, hole saw, awl, knife and hole punch for making a hole in water bottle. Following are some advantages and disadvantages of using different tools for making a hole in water bottle cap.
| Tool | Pros | Cons |
|---|---|---|
|
Drill Machine |
Makes holes precisely and in control |
You need a drill machine, which not everyone has |
|
|
Good for making lots of holes efficiently |
Risk of drilling too much or cracking the cap |
|
|
Works well with different cap materials |
If you are not cautious, there are safety issues |
|
Hole Saw |
Creates clean and even holes |
Requires a drill machine, not so common at home |
|
|
Great for larger holes |
Might cause splinters or chips in the cap |
|
|
Works with plastic and thin metal caps |
Not the best for small or precise holes |
|
Awl |
Simple and easy to use |
Used to create small holes |
|
|
Doesn't need much effort |
The hole might be with uneven or jagged edges |
|
|
Works well with thin materials |
Not ideal for big holes |
|
Knife |
Everyone has one at home |
Tricky to make precise holes |
|
|
The size of the hole is adjustable |
Edges might end up a bit jagged |
|
|
Best for small holes or slits |
Requires skill to avoid accidents |
|
Hole Punch |
Quick and easy to use |
Only good for small holes |
|
|
Makes neat and tidy holes |
Not for thick or hard materials |
|
|
It won't make you start to perspire |
Might not work with all cap materials |
Tips For Achieving A Clean And Precise Hole In A Water Bottle Cap
Some People know how to make hole in bottle cap but still cannot make proper, clean and precise hole it is because of the inadequate knowledge about how to make a hole in a bottle cap. Following tips will help you to make a clean and precise hole:
It’s essential to choose the proper size of bottle cap drill bit. Assuming that the hole is too small, the cap can crack or turn out to be excessively tight; if the hole is too big, the cap probably won’t close firmly. For a pilot hole, start small and move gradually up to a bigger bit if fundamental.
The most popular and versatile bottle cap drill bits that work well with plastic are twist bits. Step bits or spur-point bits may likewise be a possibility for cleaner holes, especially while working with thin caps.
In the whole process of how to make holes in bottle caps it is crucial to ensure your drill is good to go before you start. Better accuracy comes from a very well-maintained tool.
Ensure the battery in cordless drills is totally charged. An insufficient battery might cause uneven drilling.
A dull drill bit can bring about various issues, for example, uneven edges and a higher probability of the cap breaking. It could be time to replace your bit if it is exhibiting wear.
Getting to the suitable place is fundamental. Discover how to find the center point of your cap to prevent abnormal holes that degrade the general stylish of your project.
A loose bottle cap drill bit could lead shocking outcomes. To guarantee that the bit remains firm while drilling, twofold check that the chuck is tight.
Before understanding how to make a hole in a water bottle cap, first of all you must have have to examine the cap. Search out any signs or markers that could point you toward the center. Certain caps include raised logos or engravings that can act as a kind of reference.
Measure the diameter of your cap to check whether it is symmetrical. Your center is half of the radius that you get from this. A caliper or ruler can be utilized to take exact measurements.
In how to make hole in bottle cap procedure always remember to join the opposing edges of the cap with a cross. The center is presumably where these lines cross. This is where you can lightly stamp with a marker.
It’s not really a hero outfit, however you must wear protective stuff. Buy a few strong gloves and safety glasses. These may give off an impression of being inconsequential additional items, however they act as your safety net against any unanticipated plastic debris or disasters that might happen during drilling.
A stable base is crucial. Guarantee that the bottle you are managing is held firmly in place. An unstable bottle can cause misalignments and slips, which raises the chance of mishaps. Hence, secure it to prevent any unanticipated stunts.
Drill bit size should be increased slowly, starting with a small pilot hole. This reduces the possibility that the drill will slip and harm somebody as well as ensuring a cleaner finish.
There will unavoidably be some plastic debris after drilling. Besides the fact that it aesthetically satisfying to clean things up, but at the same time it’s a safety precaution. By taking this steps, dealing with the modified bottle cap represents a lower chance of injury.
Sharp edges are bad, however a clean hole is good. Invest some energy smoothing the edges surrounding the hole after drilling. This technique safeguards your fingers from any unwanted surprises while also improving the appearance.
Precautions To Take When Making A Hole In A Water Bottle Cap
Beside having full information about how to make a hole in a bottle cap, Understanding what might turn out badly is vital. We’re discussing about situations that could absolutely demolish your work, injuries from sharp objects, and expected exposure to hazardous materials:
Avoid using old tool for the task. Think about your safety! To prevent injuries, search for tools designed specifically for this type of work; these should have comfortable handles and maybe an extra layer of protection.
Ensure your work space is organized, that sufficient lighting is available, and that you have your essential tools, water bottle, and safety gear on hand.
Gloves and safety equipment are your hands’ most greatest companions. Depending upon what you’re doing, gloves that can shield your hands from potential harm might be essential.
Buy some stylish safety goggles or glasses to shield your eyes from unexpected disasters.
Nobody enjoys a shaky water bottle. Throughout your project, ensure your water bottle remains steady. Avoid spills and slides by utilizing extra tools or a stable platform.
It is important to inhale clean air. To prevent breathing in anything odorous, work in a space with sufficient ventilation. If you’re inside, open a window or turn on a fan.
Accidents happen. Keep emergency contacts within reach, be familiar with all about basic first aid, and keep a first aid kit nearby.
Verify that the area you have chosen is away from any potential fire risks. At the point when intensity or grinding is applied to specific bottle cap materials, they might turn out to be to some flaming. A basic safety tip is to avoid anything flammable.
Problems While Drilling A Hole In The Water Bottle Cap
We should look at the common issues that people face while attempting to make a hole in a water bottle cap.
Cracking Caps
Sometimes people have complete knowledge about how to make holes in bottle caps but the cap might break during the process of making a hole. This frequently happens when we utilize the incorrect tool or excessive power, especially on rather hard caps. What you can do is as per the following:
Reduce the Force: If you notice cracks, don’t apply as much force. Usually, being cautious and gentle is sufficient.
Try Different Tools: Different Tools respond differently. Try out different tools; some might be more successful than others.
Optimal Flexibility: Look for caps composed of materials that are flexible, like polyethylene. They will not break.
Uneven Holes
A smooth, even hole is important for both appearance and functionality. You shouldn’t be worried if that your water bottle holes appear to be somewhat weird. This is the means by which to determine it:
Maintain Your Hand Steady: Slow and steady wins the race. To accomplish smoother holes, cut or punch with a steady hand.
Take as much time as necessary: Rushing makes uneven holes. You’ll get those holes precisely if you go slowly and apply consistent pressure.
Practice First: First of all get proper knowledge about how to make a hole in a water bottle cap and practice on spare caps to get comfortable before taking on the genuine cap.
Difficulty Puncturing
There are some caps that are obstinate and make the whole operation difficult. The problem of this solution is to know how to make hole in bottle cap in the correct way but how you might improve on it is as per the following:
Warm It Up: Before drilling a opening, give the cap a little bit of warmth. It expands the material’s helpfulness and flexibility.
Pick More Thinner Tools: Utilize a more thinner tool if you’re experiencing resistance. It might simply go through more easily without any problem.
Stay Patient: Keep calm and don’t push It. Your secret weapon for dealing with obstinate caps is patience.
Innovative Uses For Water Bottles With Holes In The Caps
After knowing about how to make a hole in a water bottle cap did you ever consider that the cap on your common water bottle could open doors to a creative and enjoyable world? The following are a few imaginative and helpful purposes for water bottles with holes in the caps.
DIY No-Spill Watering Buddy
Are you tired of making a mess while watering your plants? Try not to be worried! We will make the most amazing buddy out of a water bottle cap for your plant. Instructions to do it is as per the following:
Make a Hole: Make a hole in the middle of the cap.
Returning it to the bottle: Screw it once again into the bottle.
Manage the Flow: To achieve the ideal pour, adjust the hole size.
Watering Plants In A Cool Way
Using a stylish watering stylish to elevate plant maintenance:
Connect the Caps: Connect them with an flexible tube.
Plant Sidekick: Bury them around your plants
Fill and Forget: Let the water system system accomplish the work for you.
Mess-Free Painting Adventure
Make that water bottle cap your reliable paint companion:
More Holes, More Fun: Make various little holes for more fun.
Paint Palette Ready: Fill up with your preferred color scheme.
Cap it Up: Now is the ideal time to paint mess-free.
Tiny Restaurant for Birds
Make a homemade bird feeder to transform your garden into a tiny bird shelter:
Hole in One: Make an hole in the middle of the cap.
String it Along: Put a string through it.
Seed Buffet: For the enjoyment of the birds, fill it up and hang.
Travel-Friendly Shampoo Holder
Did you ever thought about how to make hole in bottle cap to make shampoo holder? Now Say goodbye to shampoo sprinkles while traveling:
Tiny Hole, Big Impact: Make a small hole in the cap.
Shampoo Ready: Put shampoo in a little bottle.
Cap it Tight: No leaks, just joyful journeys.
Bubble Bonanza for Kids
Make a homemade bubble blower to entertain the little ones:
Cut and Attach: Cut the bottle’s base, then, attach the cap.
Soapy Fun: To make limitless bubbles, dip and blow.
Giggles Guaranteed: Easy enjoyment for children of all ages.
Drizzle Your Salad in Style
Proper knowledge about how to make a hole in a bottle cap will help you to make your plate of salad more impressive by using a homemade dressing dispenser:
Spout Makeover: Split the cap by cutting a spout.
Dressing Ready: Add your favored dressings.
Dress with Precision: Style fully shower over your plates of salads.
Conclusion
In overview of “How to make a hole in a bottle cap”, it’s entirely possible and charming to make cool things out of your common water bottle cap. A little creative mind and some essential equipment are all you need! You could change a fundamental cap into a helpful gadget with a couple of applications by means of carefully adhering with the directions.
What You Need to Remember:
- In the process of how to make holes in bottle caps first you need to grab up instruments, for example, utility knifes, hole punches, hole saws, and bottle cap drill.
- Remember your safety equipment, like goggles and gloves. It is important to keep work area safe,secure and clean.
- To begin once again, give your bottle cap an intensive cleaning.
- Think about the cap’s material, plan the ideal hole, and organize your tools.
- For accurate holes, drills are like enchantment wands. large tasks work well with hole saws.
- For small, intricate holes, awls are your smartest option. You can control the hole size with utility knives. For clean small holes, hole punches are fast and straightforward.
- Pick a secure work area, put on your safety stuff, and ensure the cap is on tight.
- Maintain adequate ventilation, a sturdy workstation, and very much kept up with tools.
- Select the proper size bottle cap drill bit and proceed cautiously.
- Keep your hand steady and check the cap’s center.
- For a perfect completion, always round off those edges.
- Try creative projects like make-your-own plant waterers, mess free paint palettes, bird feeders, portable shampoo holders, bubble blowers, or salad dressing dispensers after you’ve dominated the ability of drilling holes.
Frequenlty Asked Questions (FAQS)
Could I at any point use any water bottle cap?
Obviously, but choose the one that turns best for your task.
Does making a hole in a water bottle cap need specific tools?
While a drill is fabulous, a warmed nail can likewise be utilized.
Any safety measures to take while drilling a hole in a water bottle cap?
For safety, put on goggles and gloves.
What are a few cool applications for hole-y caps?
Look at enjoyable projects like watering cans and sprinklers.
How can I drill without harming the cap?
It’s very straightforward! A sharp bit and gentle pressure are your buddies.
Are there any alternatives to drilling?
A hole punch implied for plastic will turn out great.
As a founder of Track Down Best Items it is very important to mention that I am dedicated to give you every information about water bottles. I generally love to stay hydrated and sharing the idea of finding the perfect water bottle size which matches everyone’s lifestyle.